Apply Template Room Changes
Apply Template Room Changes
Apply template room changes allows you to create a templated page that can run through your entire workspace or just a part of it.
This action is useful if you'd like the same element, such as a logo, to run throughout the workspace and appear in the same exact spot. You might also use this to add an action button linked to a map or keep user slots in the same spot throughout the workspace.
To apply template room changes:
- Create your template room by placing items that you would want to run through the entire workspace of copied rooms and set up those elements in the way you'd like them to appear in all the rooms.
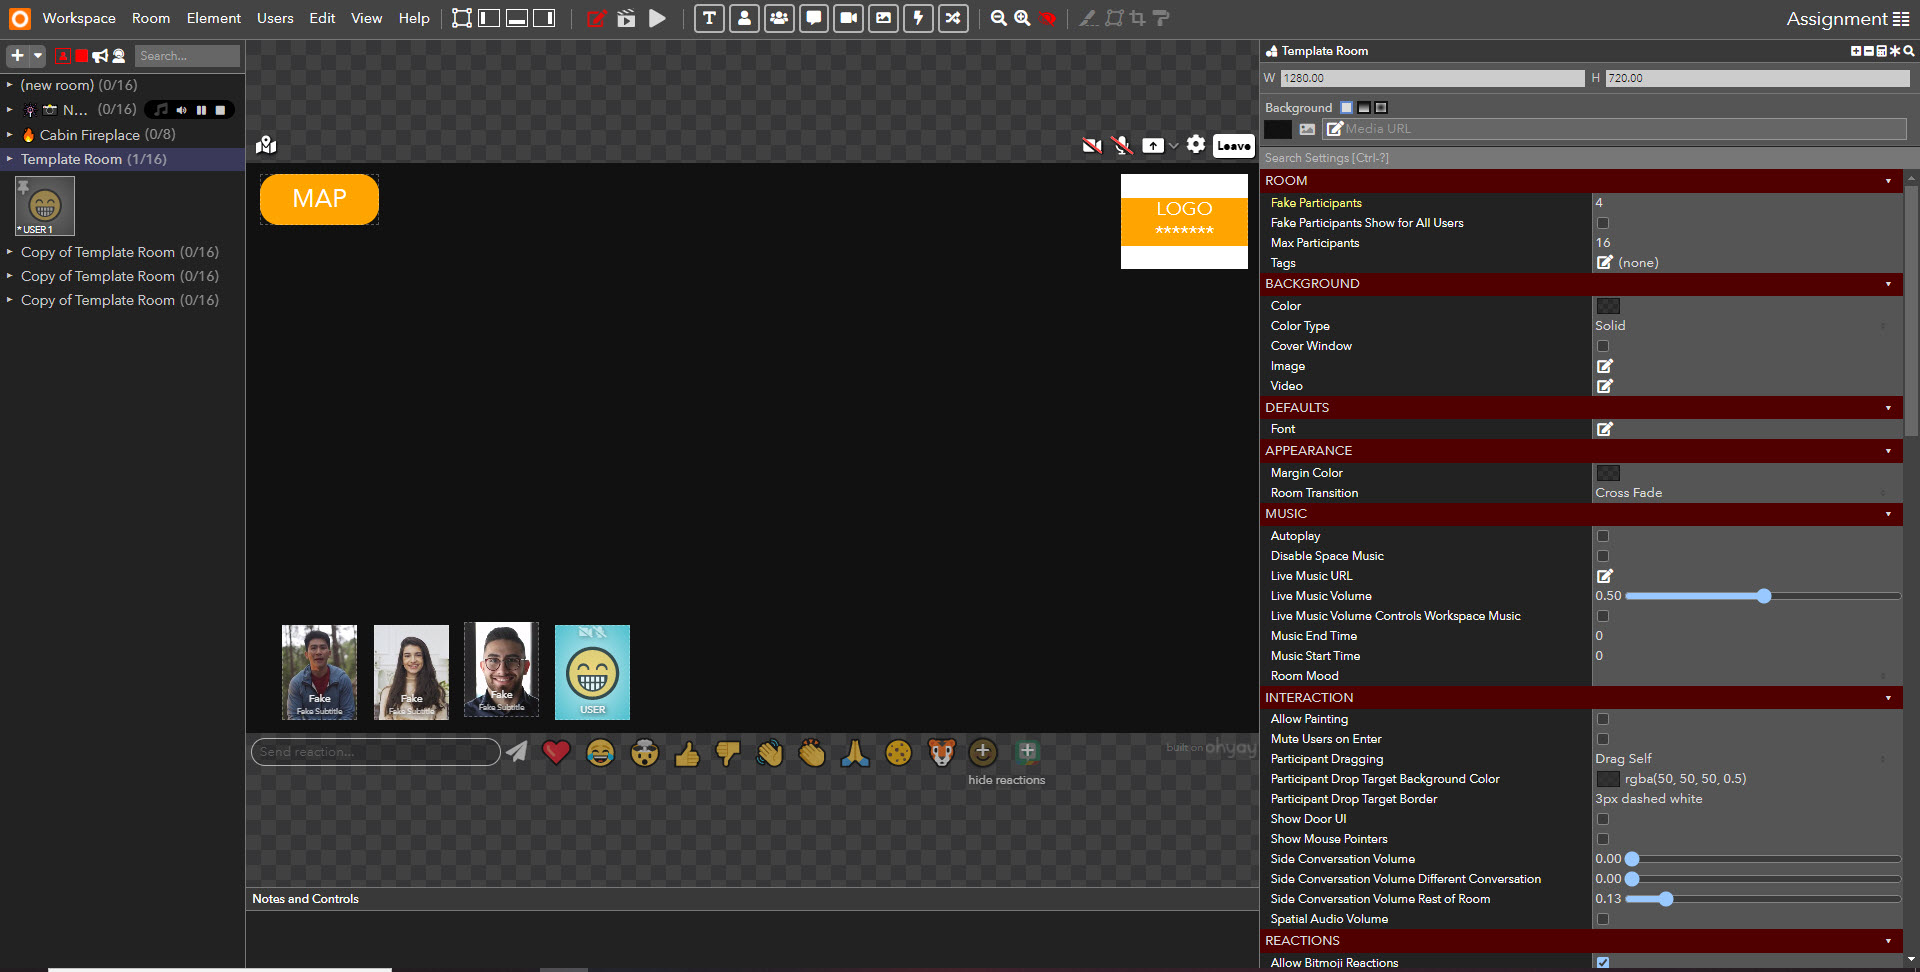
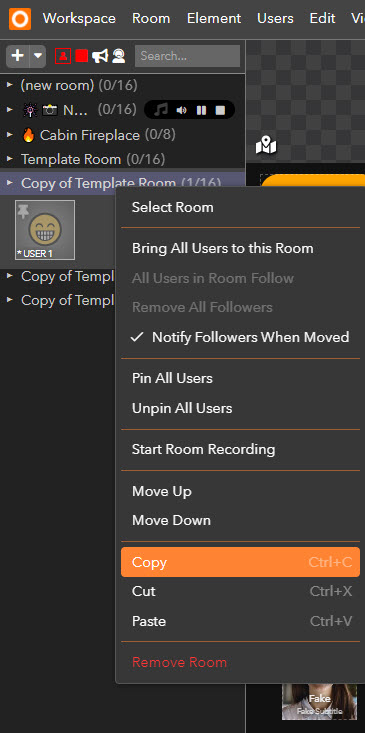
- Copy the template room by right-clicking on the room in the Rooms List and selecting Copy or by hitting Control + C (while in the editor).
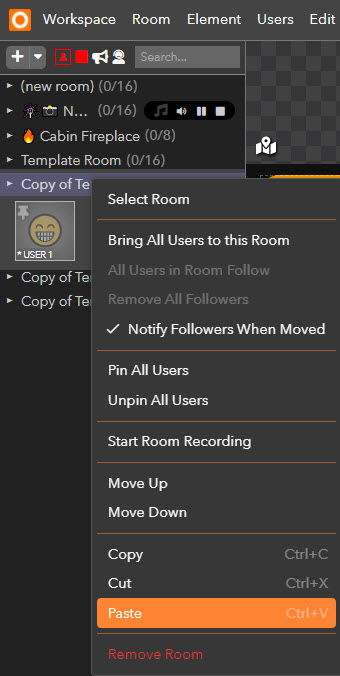
- Paste the template room by right clicking on the room and selecting Paste. Repeat this step for as many rooms you would like to share this same template.
- Using the Apply template room changes Action
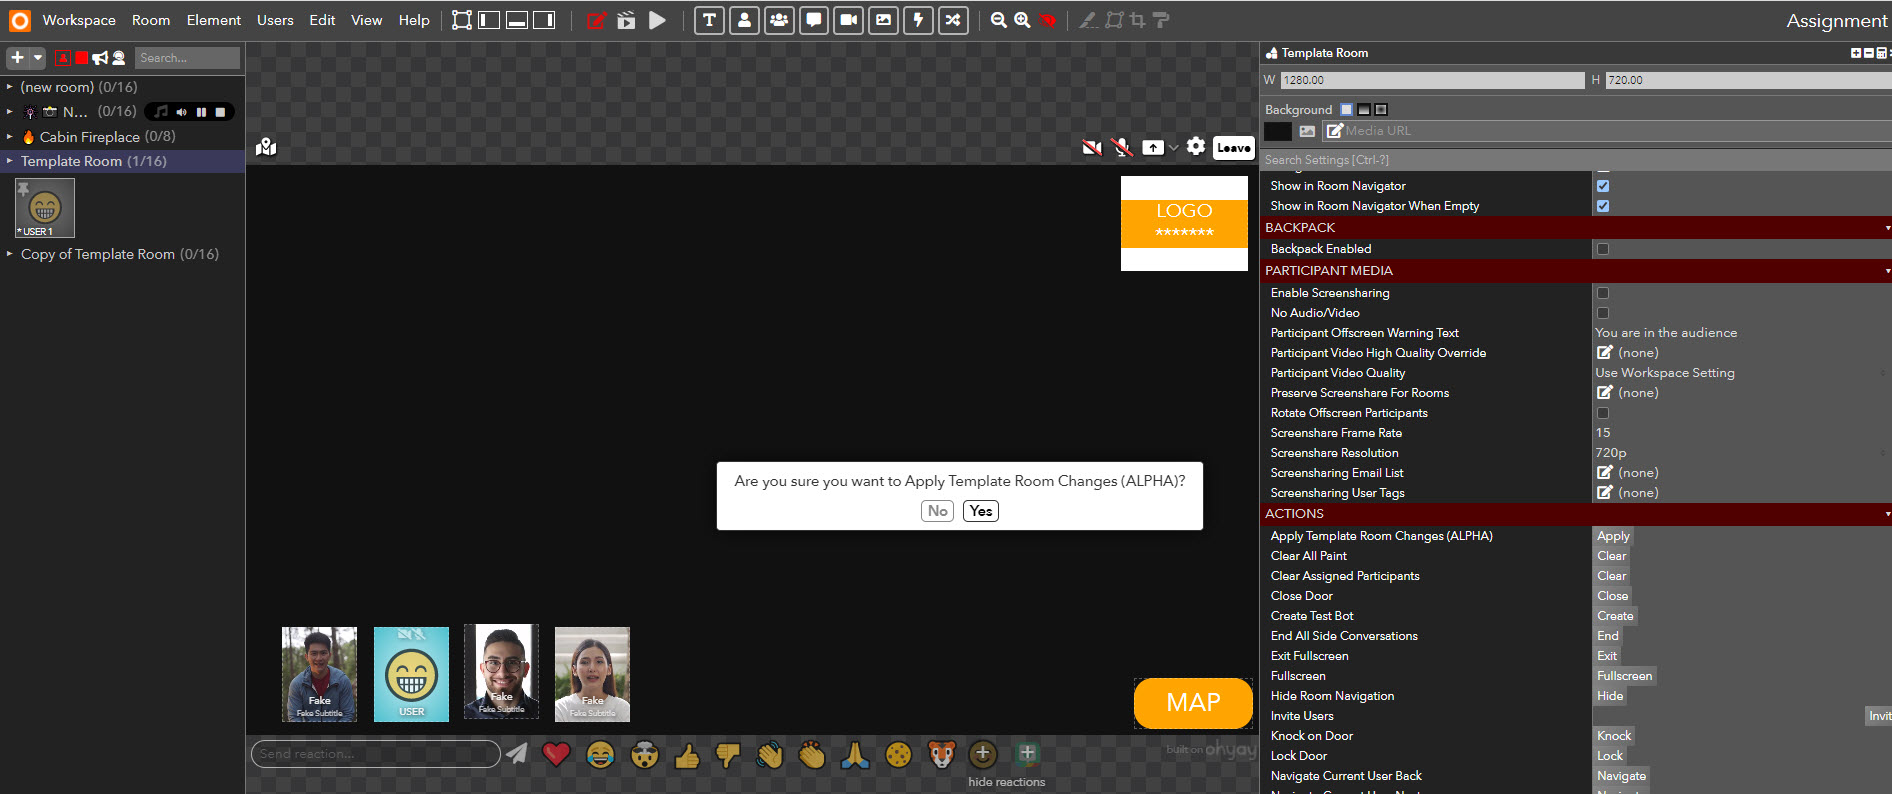
Make any changes in your template room and then under Room Settings, select Apply Template Room Changes under the Actions category.
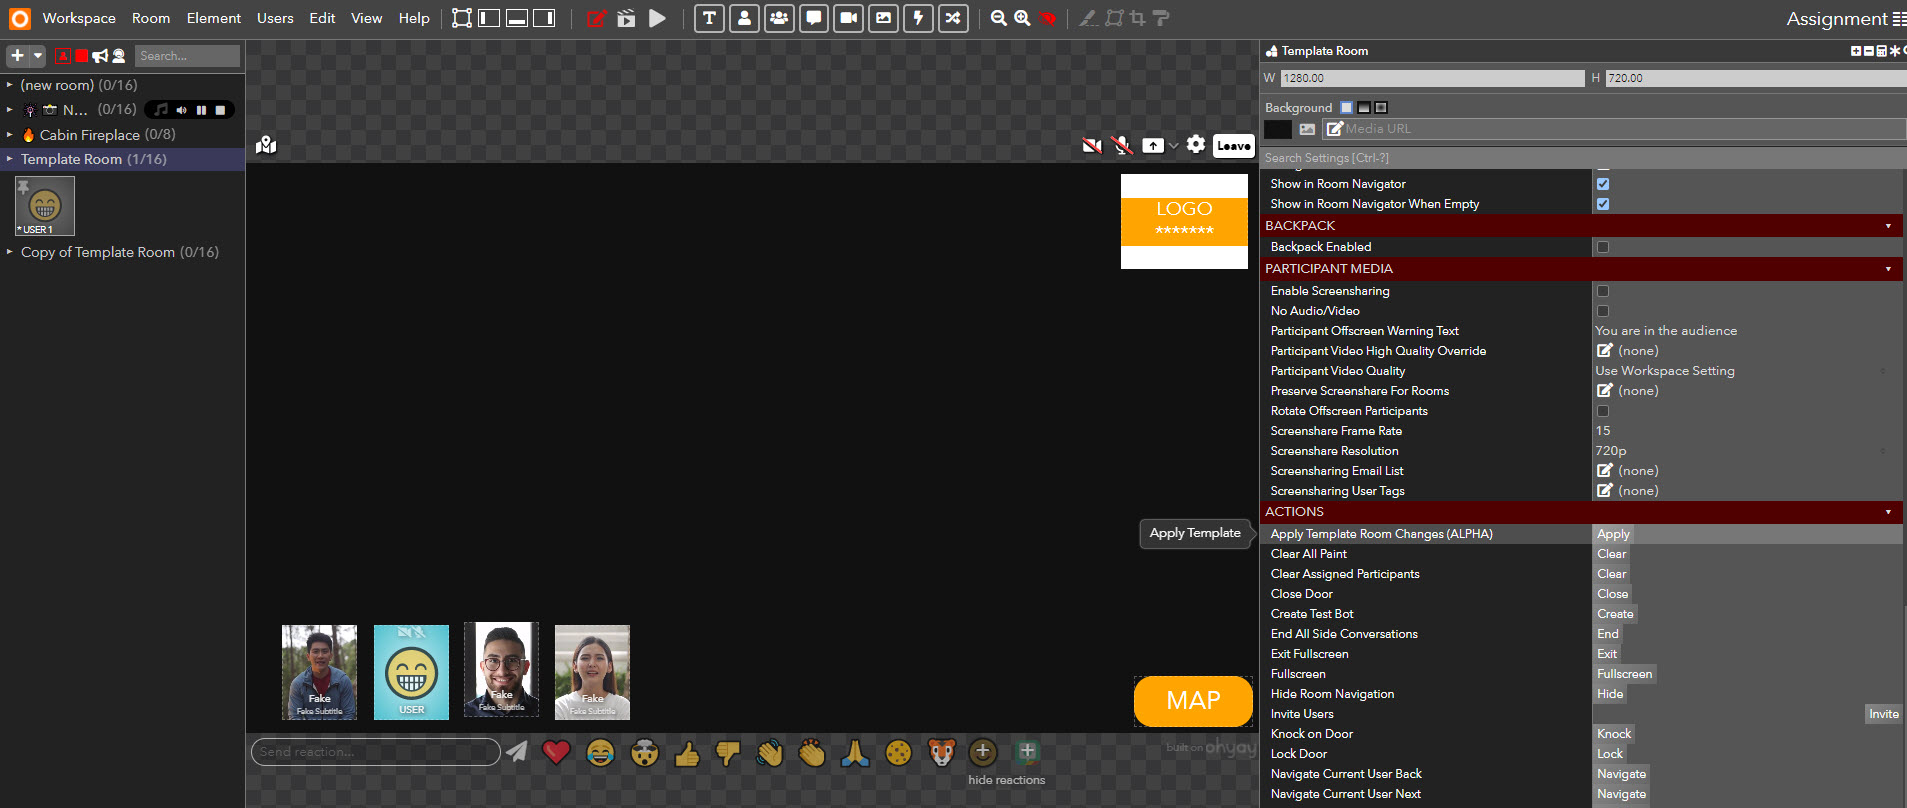
You'll see a promopt to make sure this is what you'd like to do.
Once the changes have been made to each of your copied rooms, you will receive this confirmation.
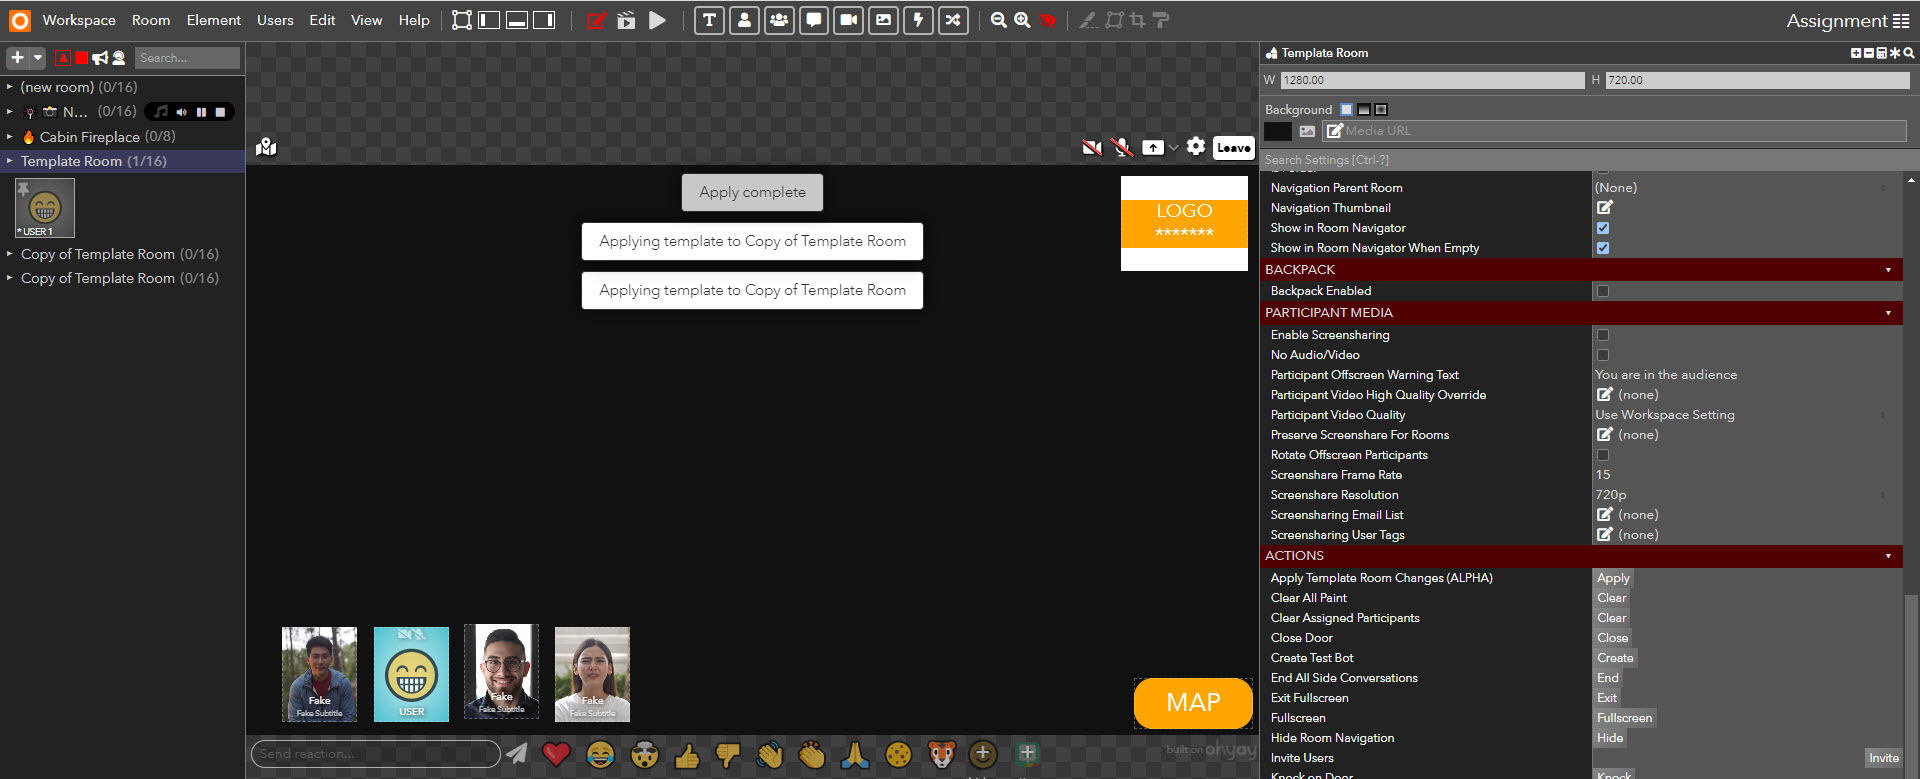
You can always go back to the templated room and keep it hidden and make any other changes to it through this one room. Make sure to hit Apply Template Changes under the Actions category each time.
Applying Template Room Changes after edits
Applying Template Room Changes will match the notes elements to the template room exactly- tags, settings, and all. If you've made individual edits to any of the rooms using the template room, you will have to redo those changes after applying the template room changes.
Updated almost 4 years ago
