Toolbar
The toolbar at the top of ohyay provides more convenient access to the most commonly used configuration properties, from adding user slots to changing the background of your room.

Toolbar: Room Setting Configuration
You should be able to build out your workspace by primarily using the toolbar, but you can still access the Advanced Properties panel by clicking on Advanced on the top right corner of your screen.

You’ll notice that the toolbar changes depending on what you click on (e.g. the room canvas vs. an element). When you click on the room canvas, this is what you'll see:

Toolbar: Room Setting Configuration
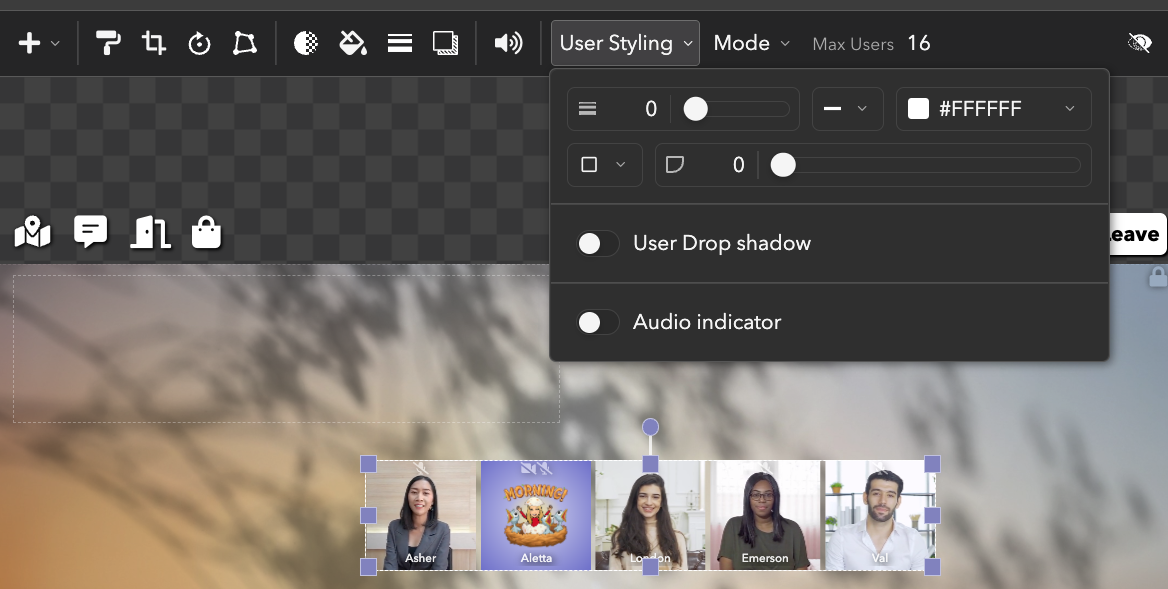
When you click on an element, you'll see the Toolbar change to reflect changes you can make to that specific type of element. Seen below is a user slot:

Toolbar: Element Settings Configuration
Plus Dropdown
The first icon that you’ll see in the toolbar is the icon, which opens a dropdown alllowing you to easily add ohyay’s most commonly used elements. No matter what you click on, the plus dropdown will always be present in the toolbar.
Let’s cover each icon in the plus dropdown:

icon: Click on the
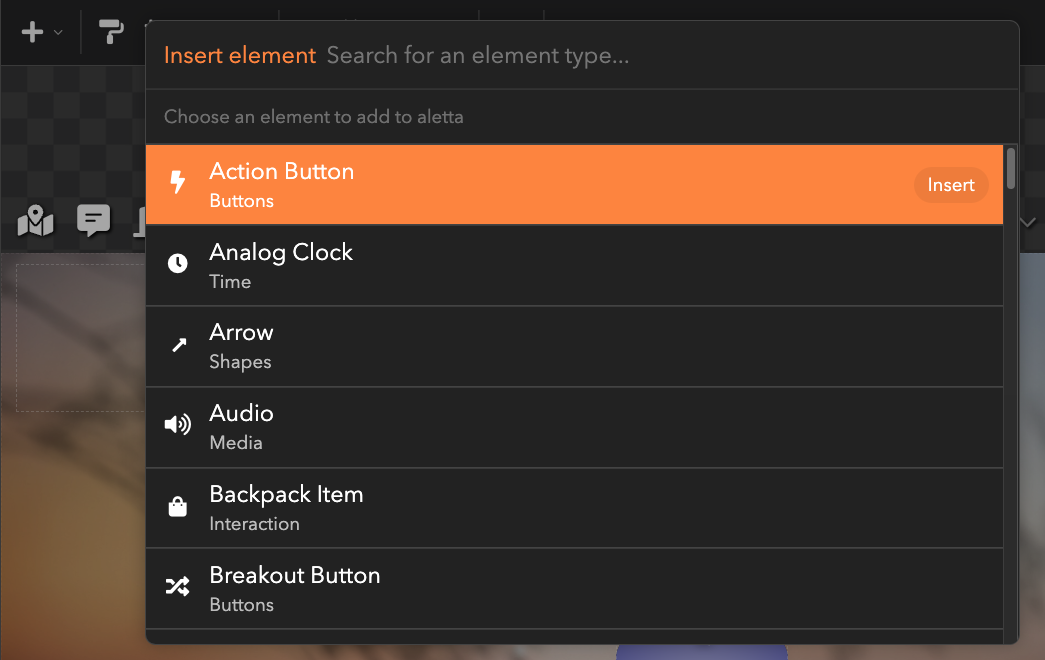
icon to easily search for and add the element of your choice. (You can also insert elements in ohyay under the Element dropdown in the menu, but accessing them via the toolbar is faster). This list includes all of the shortcuts that you see in the toolbar: text, user slot, multi-user slot, image, etc.
: Click on the
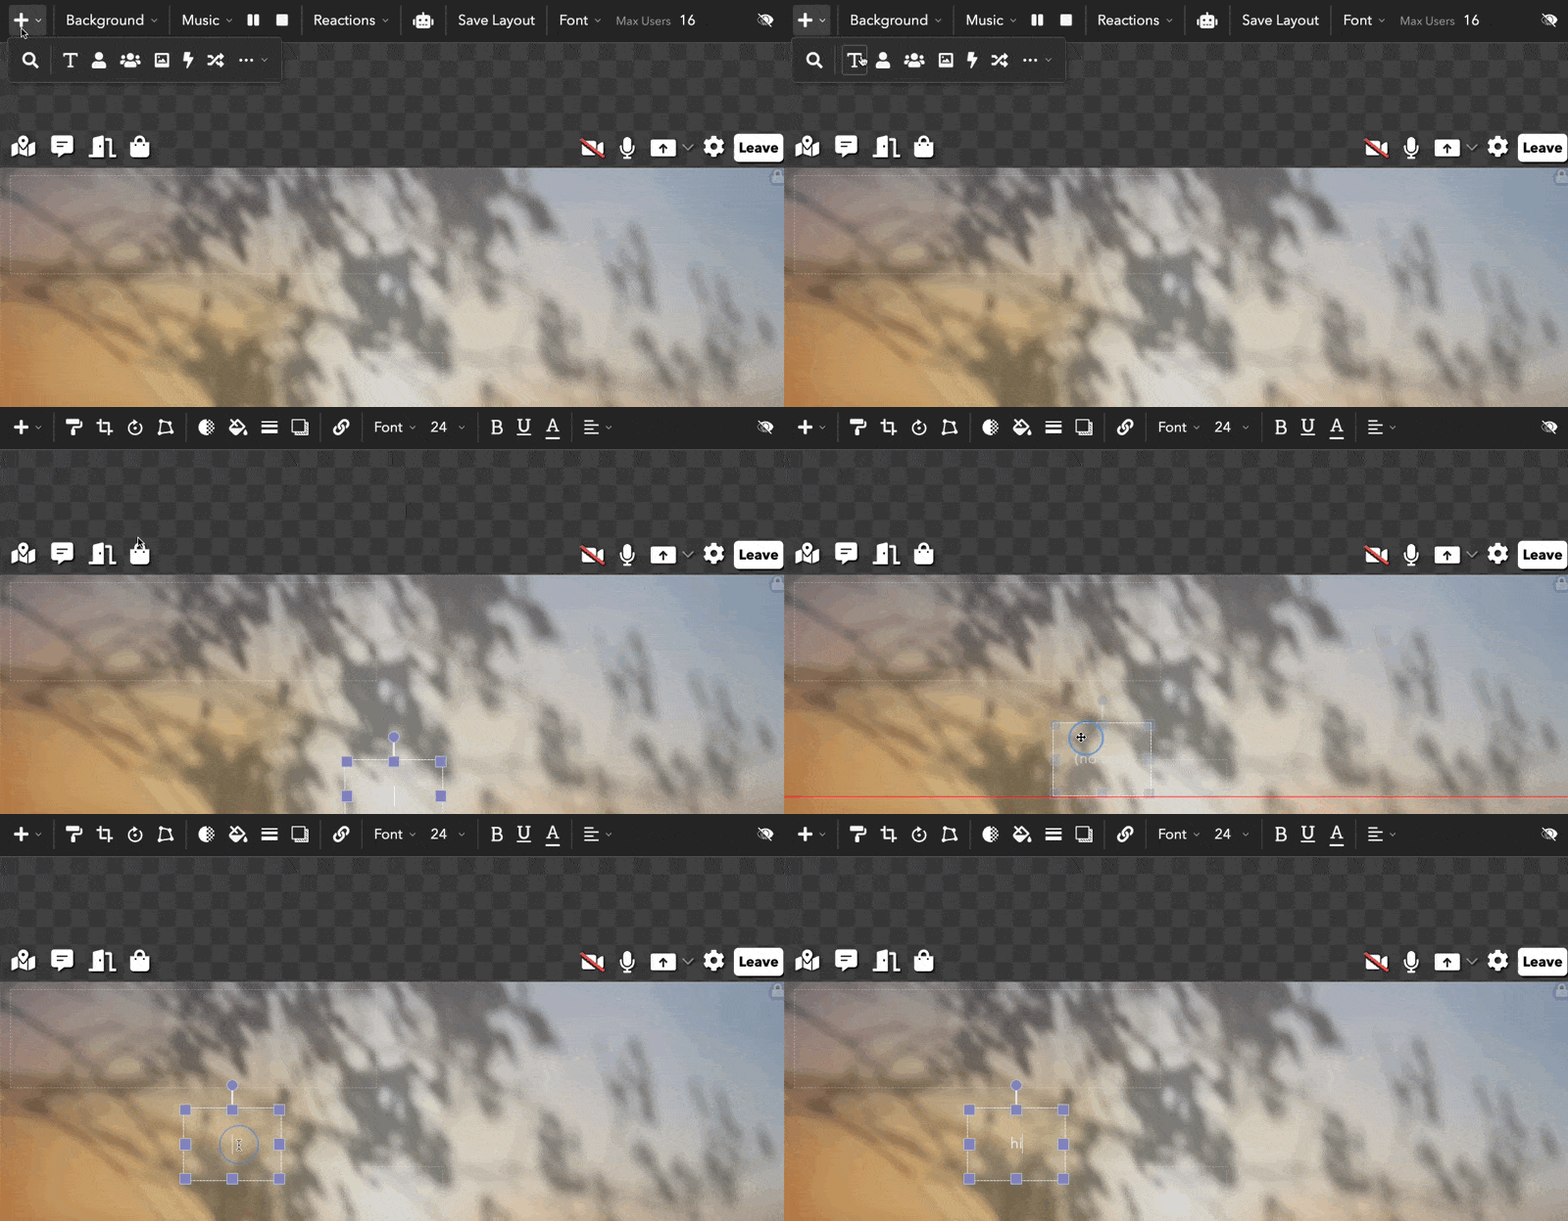
icon to add text to your room and start typing. When you click on the text element, you’ll see that the toolbar will change, and will allow you to adjust its font, font size, style, color, and alignment. (Click on the room canvas again to get back to the previous toolbar).
: Click on the
icon to add a user slot to the room. Every user in your room will need a user slot to appear on-screen. When you click on the user slot, you’ll see that you can adjust the following properties right from the toolbar:
- Audio Volume: The volume at which the user in the slot is heard by others in the room.
- Audio Indicator: A colored border around the slot that flashes when the user is speaking.
- Mode: The way in which users enter the slot. Depending on which option is selected from the dropdown, they can either automatically pop into the slot, click into the slot, or be manually assigned via email.
- The Z-Index: The order in which users join the slot versus other slots, where 0 is the highest priority (or first assigned) and larger numbers are lower priority.
: Click on the
icon to add a multi-user slot. Since the multi-user slot is a container for user videos, User Styling styles the container.
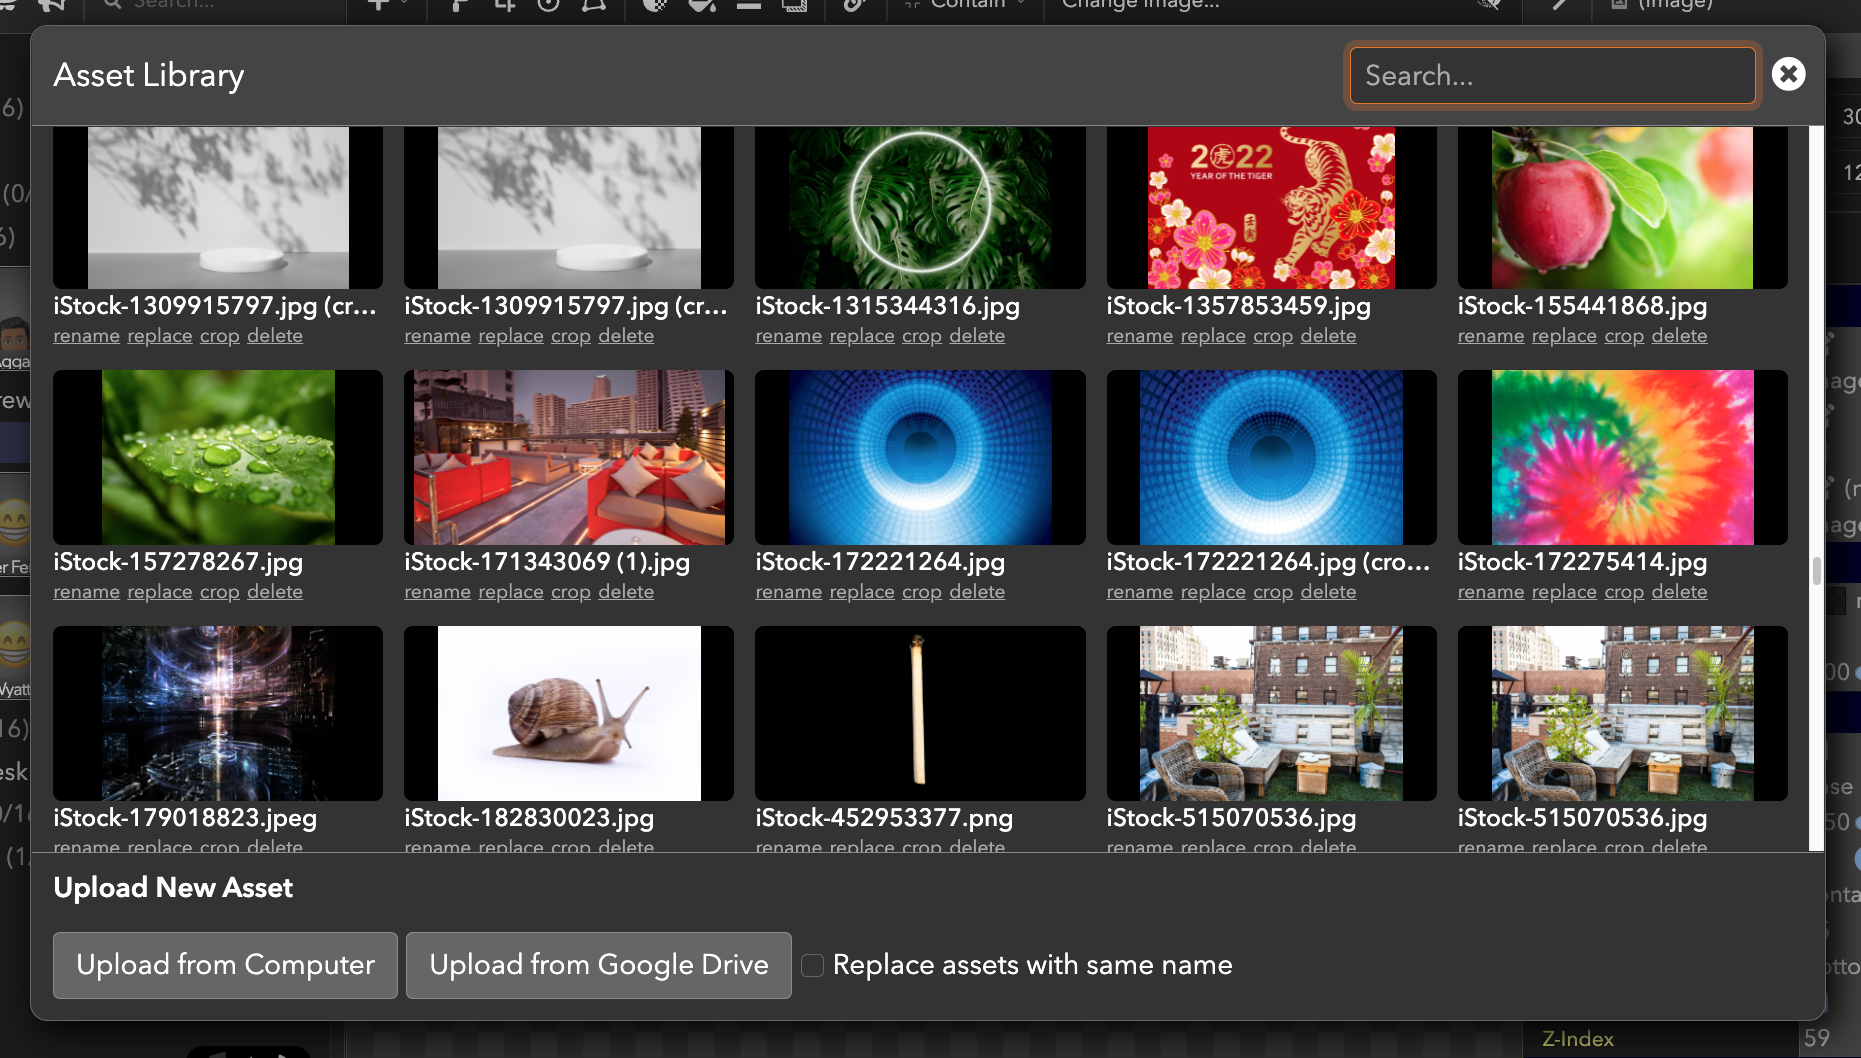
Add Image Icon: The image icon allows you to add an image to your workspace. Simply click on the icon that looks like a polaroid and select an image from your asset library, upload an image from your computer, or upload an image from Google Drive.
: Add an ACTION BUTTON to your room and configure it directly from the toolbar by clicking on Edit Action.

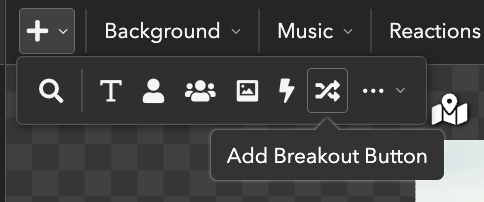
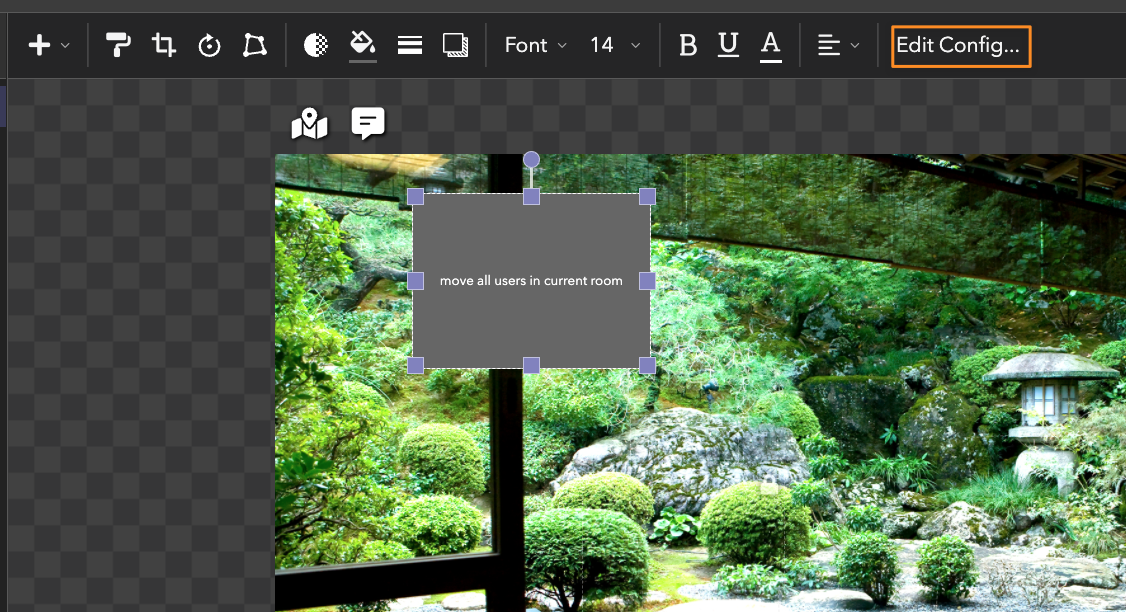
: Add a Breakout Button and edit its configuration directly from the toolbar by clicking on Edit Config.
Updated almost 4 years ago
