Waiting List
A list that users can click on to add their names and opt in for notifications when it’s their turn. Often used in office hour settings.
The Waiting List element allows you to add a live waiting list to your room. These waiting lists can be linked across your workspace, and allow you to create an easy-to-use queue for users. This can be especially useful for meet and greets, office hours, or even ticketed events with a max capacity. Waiting lists can be configured to add users automatically or manually based on the best fit for your workspace.
The waiting list element will allow you to show users their spot on the list, how long they have been there, and notify users via SMS when it is their turn in line. You can then use the element to navigate them to the room you want them to be in, without adding additional elements to your workspace.
There are element settings specific to the waiting list element that allow you to customize the experience and level of interaction users have with the waiting list.
Adding a Waiting List to your workspace
-
Click on the plus sign in the Toolbar and search Waiting List.
-
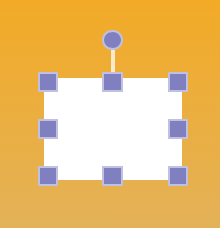
The element will appear in the middle of your room, and look like the below image. Users can then click and drag to move or resize the element using the blue selection boxes.
Using a Waiting List
By default, waiting list elements have click to join enabled. This means that users in your workspace can add themselves to the waiting list by clicking on the element. It will automatically place users in order based on the time of their click.
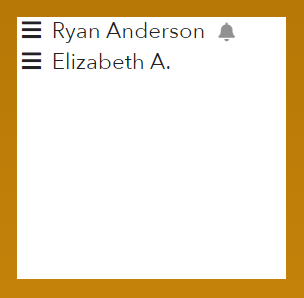
When you have multiple users waiting, you can use the waiting list to keep track of who is next in line. The top user can be invited to a new room using the waiting list element, moved to a new room manually, or removed from the list by those with admin or director access. Hovering over a user's name will provide you with options including a trash can to remove them.
Element Settings
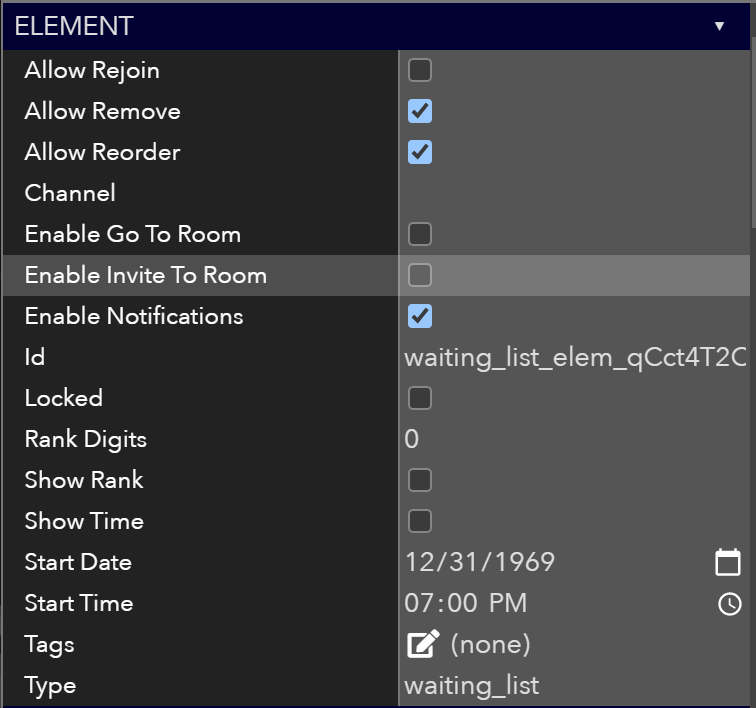
Screenshot of the element settings for waiting list in ohyay
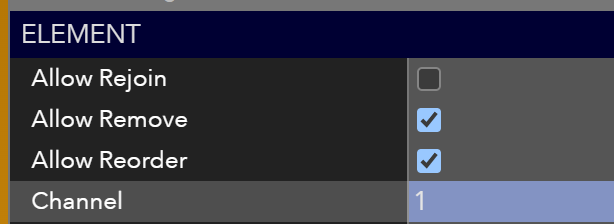
The photo above shows all of the element-specific settings users are able to control when using the waiting list. These settings are in addition to the standard settings available for each element in ohyay, and are specific to the waiting list element. You can find them in the Advanced Properties panel.
- Allow Rejoin: Checking this box allows users who leave or are removed from the waiting list to click the waiting list element to rejoin the list. This will update their time stamp, and place them at the bottom of the list.
- Allow Remove: Checking this box allows users to click on the waiting list element to remove themselves from the waiting list.
- Allow Reorder: Checking this box allows users with admin and director access to reorder the current user names in the waiting list. This is done by dragging a user's name in the list into the new location.
- Channel: Setting a channel links like elements across the workspace- in this case, waiting list elements. Putting the same value into other waiting list elements Channel setting will link them to the same channel. This will display the same waiting list to all rooms. The value can be anything- a letter, number, or string of characters or words. Learn how to link waiting lists below.
- Enable Go To Room: When enabled, a button will appear next to a user's name when hovered over by a user with admin or director access. When clicked, this button will bring the user to a specified room.
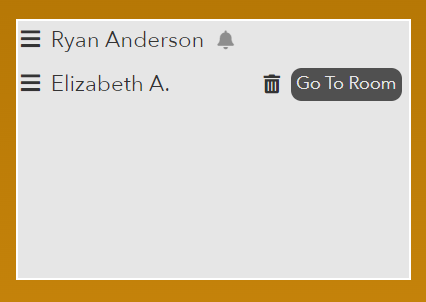
- Enable Invite to Room: Checking this box gives users with admin or director access the ability to invite a user to the room. Hovering over a user's name will give them a bell icon on the far right (as seen next to Elizabeth A in the sample below), and clicking on the bell icon will give the option to invite them to the room. The message shown in the invitation can be customized in the settings menu on the right hand side.
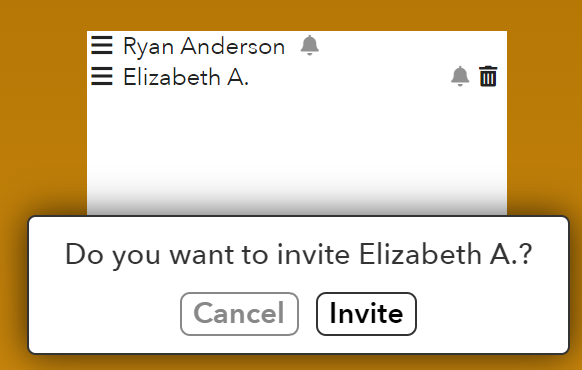
Sample of inviting a user to a room.

Sample of what a user sees as a result of an invite.

Settings menu showing space to input custom invitation text.
- Enable Notifications: When enabled, this will allow users to enter their phone number to be notified when it is their turn.

Example of the prompt for user phone number for notifications.
- Locked: Checking this box locks the element so it cannot be easily selected in edit mode. Elements must be unlocked to be edited.
- Rank Digits: Use this setting to specify how many digits will be shown to all users if Show Rank is enabled.
- Show Rank: Checking this box makes the current ranking of the waiting list visible to all users.
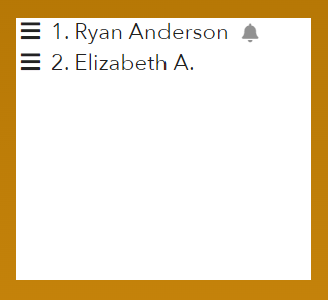
- Show Time: Checking this box makes the time a user joined the waiting list visible to all users.
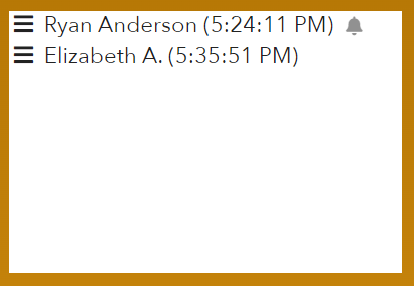
- Start Date: Changing the date will display how much time has passed for each user since Start Date and Start Time when Show Time is enabled. If left as the default date, Show Time will display the exact time a user joined the list.
- Start Time: Changing the time will display how much time has passed for each user since Start Date and Start Time when Show Time is enabled. If left as the default date and time, Show Time will display the exact time a user joined the list.
- Tags: A comma-separated list of words to apply as tags to an element that can be used for searching/scripting/etc. See TAGS for more information.
Linking waiting lists across a workspace
Linking waiting list elements across a workspace can be extremely helpful, allowing you to establish a waiting room and a meeting room as separate entities while still displaying the same information on waiting list elements in both rooms.
To link waiting list elements, use the Channel setting under Element in the right-hand menu. Input matching text into the text field (letters, numerals, or words) of the waiting list elements in two or more rooms in your workspace to have the elements display the same information.
Users will be able to interact with and add/remove themselves from linked waiting lists in any of the rooms where linked waiting lists are present.
Using Notifications
When Enable Notifications is checked, users will see a small bell icon directly next to their name. Clicking on this icon will prompt them to input their phone number.

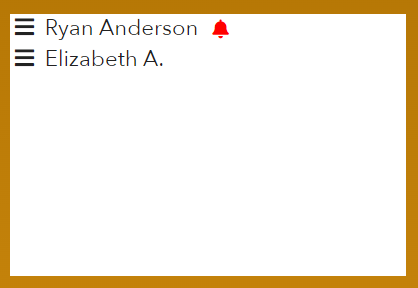
After a user has input their phone number and clicked save, the bell icon will turn red. Clicking on the icon again will bring up the same window and allow them to edit the phone number provided.
Updated almost 4 years ago
Curious what else you can do with Waiting List elements? Check out some of our demo workspaces, chat with our creators in the discord, or head over to the community forums to ask!
