Room Navigation
Enabling Room Navigation
If Enable Room Navigation under the Interaction category of your Room Settings is checked, your attendees will be able to self-navigate into different rooms.

Keep in mind that you can still go into certain rooms (e.g. a presentation room) and change the room settings to hide the rooms list on the left-hand side.
To change the way that your rooms appear in the left-hand rooms list:
- Click on Names next to Room Navigation Style in the Workspace Settings.
- Select an option from the dropdown (e.g. Images, Names and Images, etc.)

For larger events, the "Map Room" style is a custom room that will function as a map for your space.
Hiding your Rooms List
If you hide your rooms list on the left-hand side, people won't be able to navigate away from that room.
To hide the rooms list and "lock down" your room:
- Click on Room in the menu bar and select Settings.
- Search for Navigation in the Room Settings or scroll down until you see the Navigation category.
- Check the box next to Hide Rooms List.

Hiding specific rooms
By default, every room in ohyay is visible in the rooms list on the left-hand side (provided that room navigation is enabled in the space).
If you'd like to have a private room (e.g. an organizer's room or tech support lounge), it can be useful to turn off the room in the rooms list.
To hide your room from the rooms list:
- Click on Room in the menu bar and select Settings.
- Search for Navigation in the Room Settings or scroll down until you see the Navigation section.
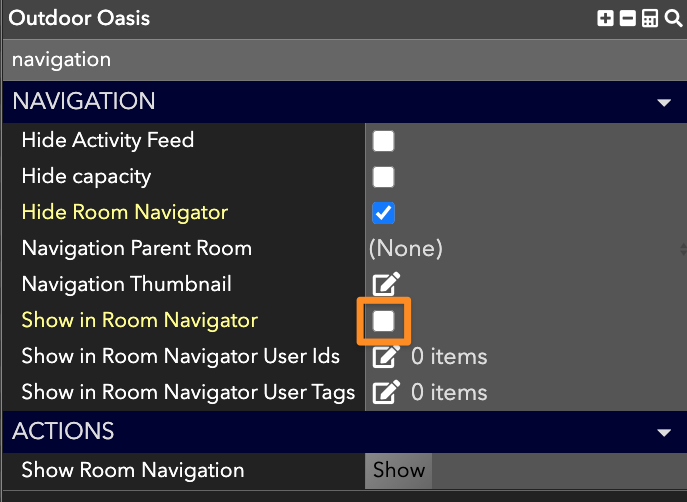
- Uncheck the box next to Show in Room Navigator.

Making Lobbies & Maps
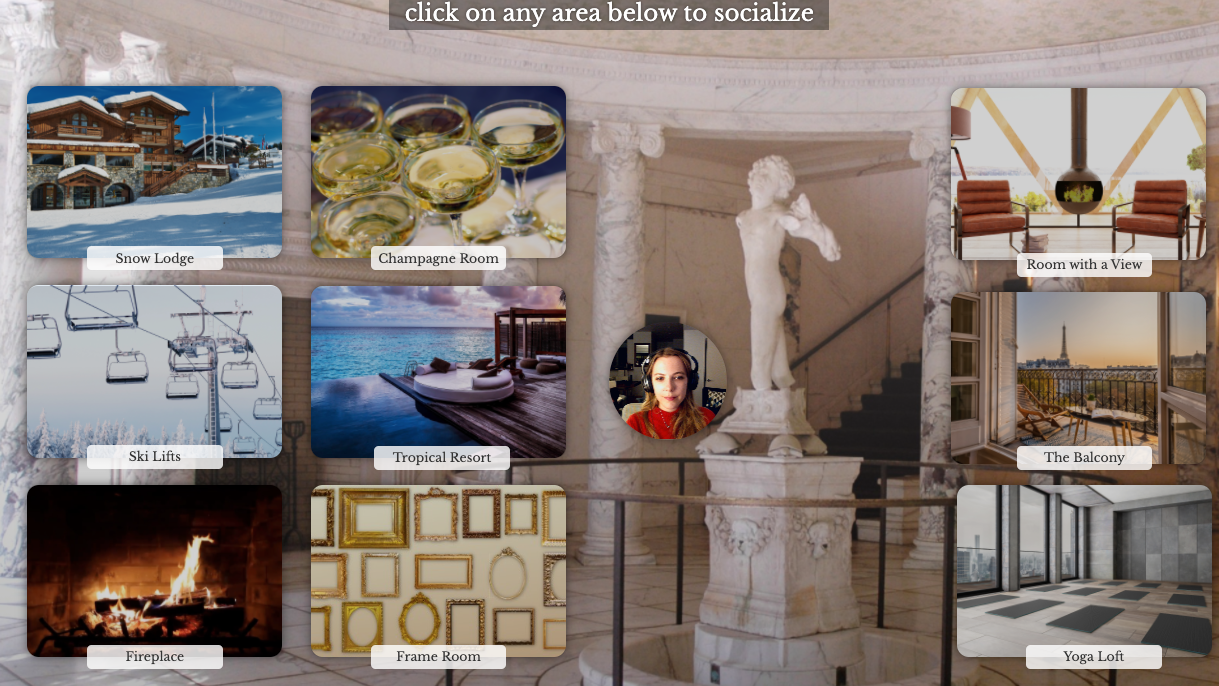
Creating a virtual lobby is a great way to give your guests a bunch of rooms to pick from. With a lobby experience, you replace the rooms list on the left-hand side.
To create a virtual lobby:
- Click on the image icon in the Toolbar to add a photo element, which will open up the Asset Library.
- Click on an image of a room in your space that you'd like guests to navigate to.
- Click on
** in the Toolbar to add a text element and type in the name of the room. Drag it towards the bottom of the image.
- Click on the image to pull up its settings in the Toolbar.
- Click on the link icon in the Toolbar to open the dropdown.
- Click on the arrow next to the Room/URL and select the room to which the image should link.
- Repeat the steps above until you have as many rooms in your lobby as you'd like.
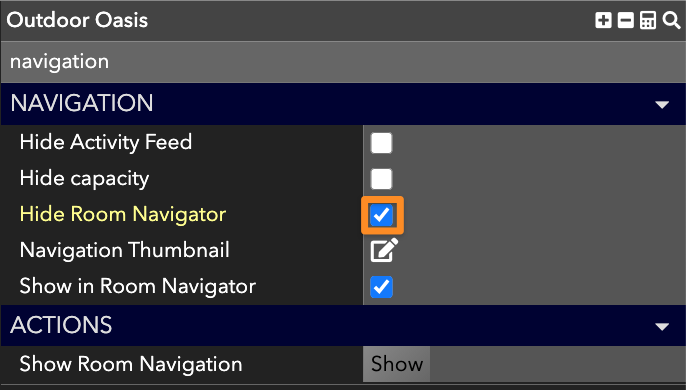
- Click on Room > Settings in the menu. Check Hide Room Navigator, since this room will now serve as your guests' navigation.

Updated almost 4 years ago
